> ## Documentation Index
> Fetch the complete documentation index at: https://docs.context.dev/llms.txt
> Use this file to discover all available pages before exploring further.
# Make
> Add Context.dev brand lookups, screenshots, styleguide, and product extraction to any Make scenario via the native integration or an HTTP module.
[Make](https://www.make.com) (formerly Integromat) is a visual automation platform. Context.dev publishes a native integration on the Make marketplace, plus all endpoints are reachable through Make's generic HTTP module.
* Native integration: install once, drop pre-built modules into any scenario
* HTTP module: call any Context.dev endpoint, including ones not yet exposed as native modules
Open the Make marketplace listing and add the integration to your account.
## Install the native integration
1. Open the [Context.dev integration on Make](https://www.make.com/en/integrations/context-dev).
2. Click **Install** and authorize Context.dev in your Make account.
3. Paste your Context.dev API key from the [dashboard](https://context.dev/dashboard).
## Available modules
Once installed, the following modules appear under Context.dev in Make's module picker:
| Module | Input | Output | Underlying endpoint |
| ---------------------- | ---------------------------------- | ------------------------------------------ | ----------------------------------------------------------------------------------- |
| Retrieve Brand Data | Domain, name, email, or ticker | Brand record (logos, colors, company data) | `POST /brand/retrieve` (`type`: `by_domain`, `by_name`, `by_email`, or `by_ticker`) |
| NAICS Classification | Domain or company name | NAICS code(s) with confidence | `/web/naics` |
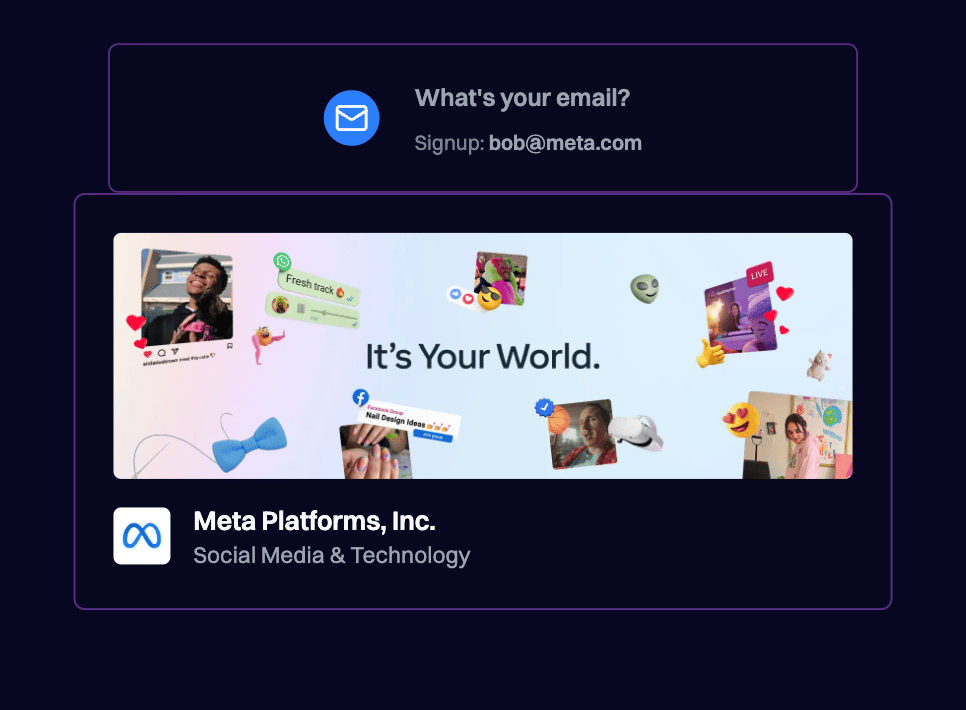
| Transaction Enrichment | Merchant descriptor, MCC, location | Merchant brand with logo and industry | `POST /brand/retrieve` with `type: "by_transaction"` |
| AI Products Extraction | Domain | Product catalog with pricing and features | `/brand/ai/products` |
| Screenshot Capture | URL | Hosted screenshot URL | `/web/screenshot` |
| Styleguide Extraction | Domain | Design system (colors, fonts, components) | `/web/styleguide` |
Each module returns a structured object the rest of the scenario can map into downstream modules.
## Walkthrough: brand a Google Slides presentation
The scenario fetches a brand record from Context.dev and pipes the logo and company name into a Google Slides template. A similar pattern is covered in [Branded Campaign Assets](/use-cases/branded-campaign-assets).
### 1. Design a Google Slides template
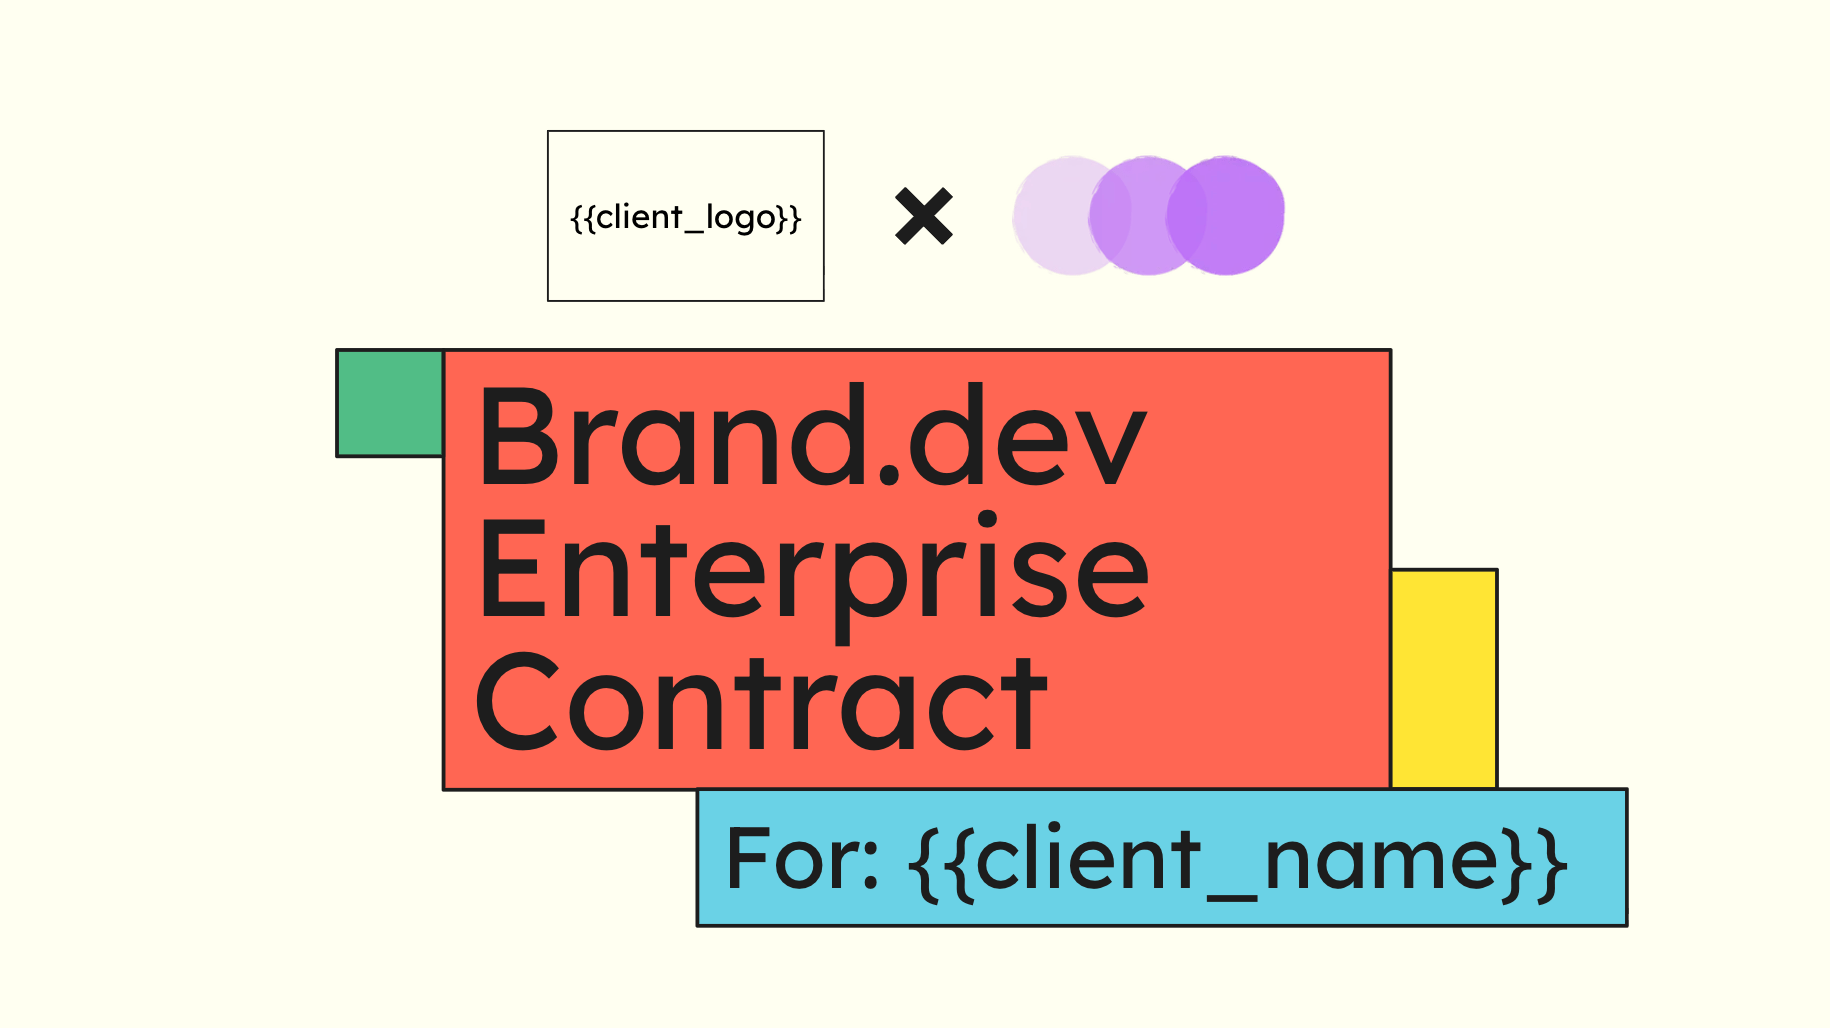
Create a Google Slides template with placeholders for the brand logo and name. Wrap each placeholder in double curly braces, e.g. `{{client_logo}}` and `{{client_name}}`. For logo placement, insert a **shape** where you want the logo to appear, then add text inside it with the placeholder (e.g. `{{client_logo}}`). The shape acts as a bounding box: the image module added in step 4 will replace it with the resized logo while preserving aspect ratio.
 ### 2. Set up the Make scenario
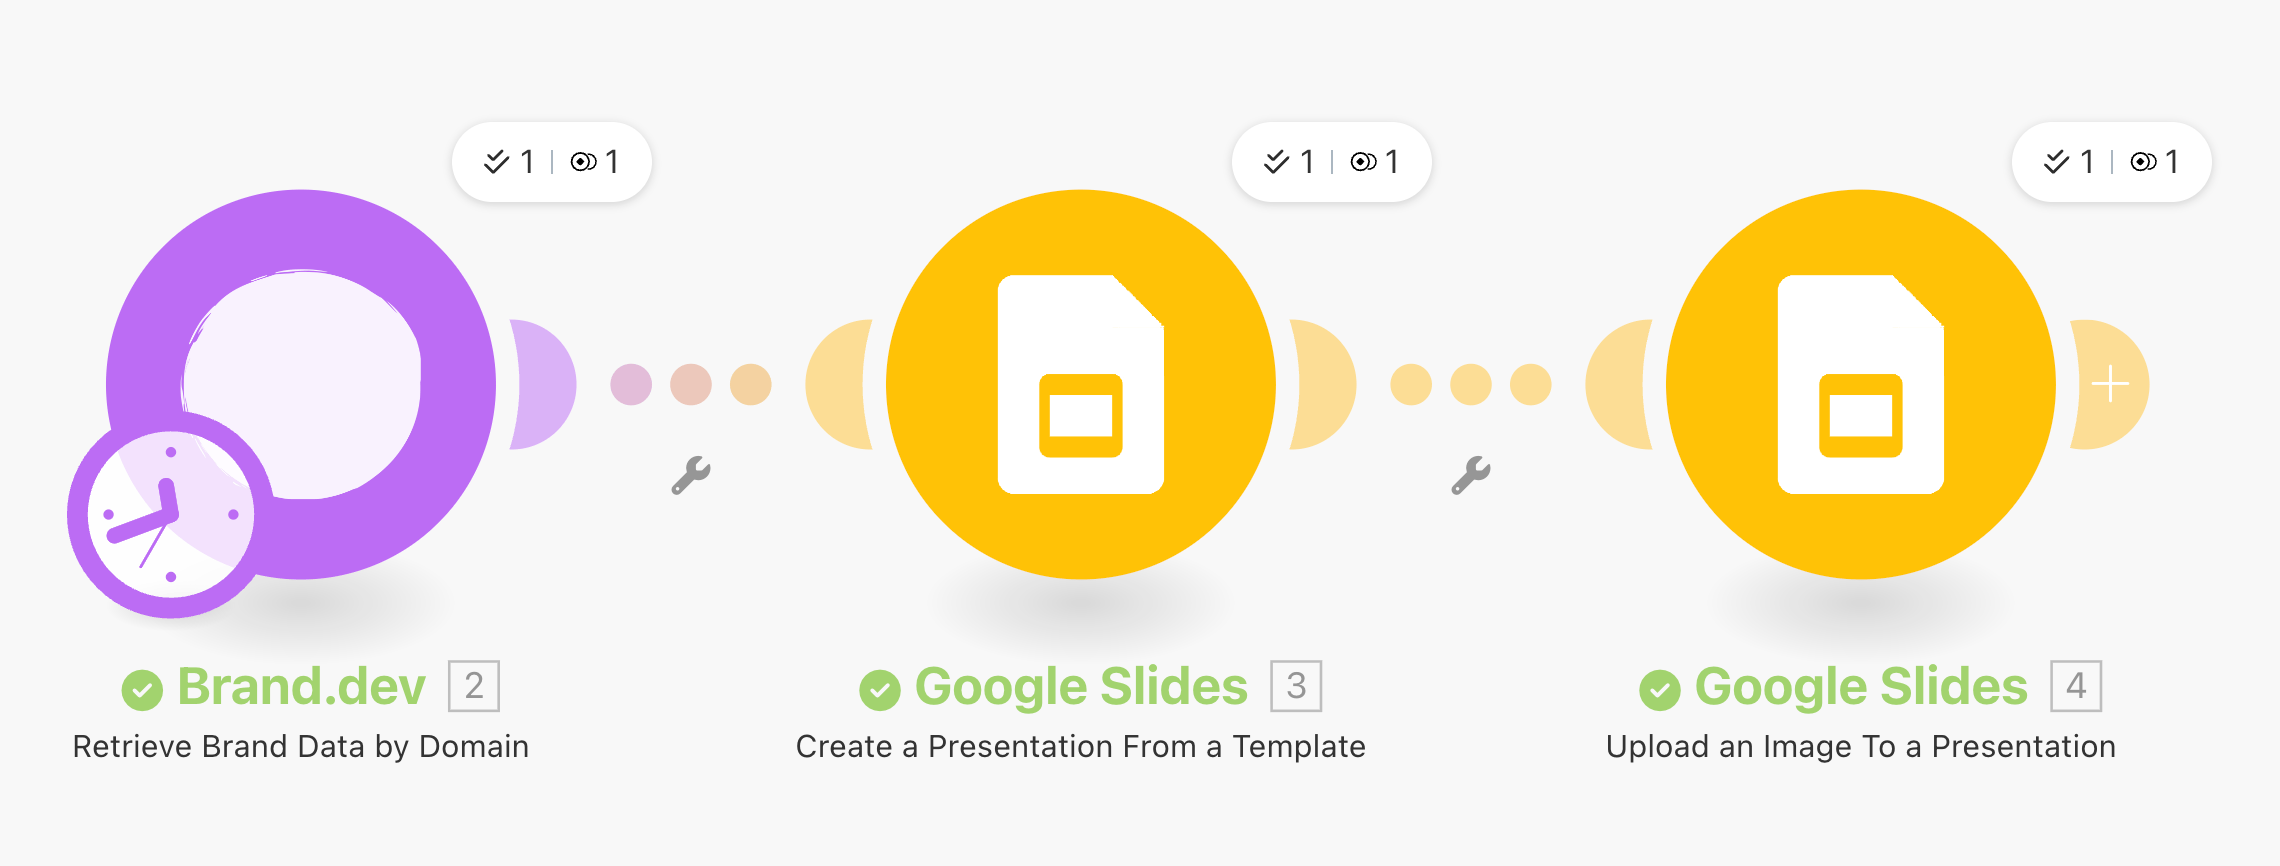
Start with a trigger that captures new client signups or form submissions (Google Forms, Typeform, etc.) and pipe its domain output into the Context.dev module.
### 2. Set up the Make scenario
Start with a trigger that captures new client signups or form submissions (Google Forms, Typeform, etc.) and pipe its domain output into the Context.dev module.
 ### 3. Add the Google Slides module
Add the Google Slides **Create a Presentation from a Template** module. Select your template and map the text placeholders to the corresponding fields from the trigger and Context.dev modules:
* `{{client_name}}` → company name from the form or `brand.title` from Context.dev
* `{{client_logo}}` → leave unmapped, so it stays as literal placeholder text that step 4's image module can find and replace
You can also override the destination folder and the new presentation's name in the same module.
The Google Slides template must have placeholders wrapped in double curly braces **before** you add this module. If you edit the template afterward, delete and re-add the module (or change the presentation ID) so Make refreshes the field list.
### 3. Add the Google Slides module
Add the Google Slides **Create a Presentation from a Template** module. Select your template and map the text placeholders to the corresponding fields from the trigger and Context.dev modules:
* `{{client_name}}` → company name from the form or `brand.title` from Context.dev
* `{{client_logo}}` → leave unmapped, so it stays as literal placeholder text that step 4's image module can find and replace
You can also override the destination folder and the new presentation's name in the same module.
The Google Slides template must have placeholders wrapped in double curly braces **before** you add this module. If you edit the template afterward, delete and re-add the module (or change the presentation ID) so Make refreshes the field list.
 ### 4. Replace the logo placeholder
Add the **Upload an Image to a Presentation** module. Select the presentation created in the previous step; the module finds the `{{client_logo}}` placeholder text left in place by step 3 and swaps it for the image. For the **Image URL** field, map `brand.logos[1].url` from the Context.dev module (Make arrays start at `1`, so index `1` is the primary logo).
### 5. Optional final step
A common closer is a notification: a Slack message to the team, a Notion entry, or a record in your project management tool linking to the new presentation.
### 6. Test and activate
Run the scenario a few times against test inputs. Once the output looks right, activate the scenario.
### Result
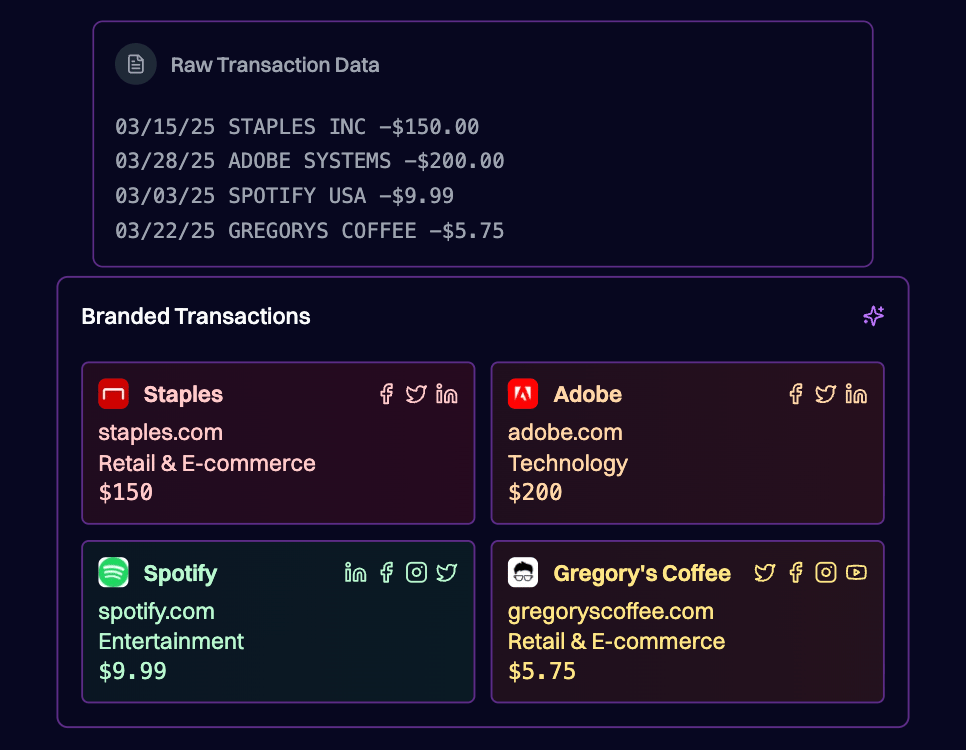
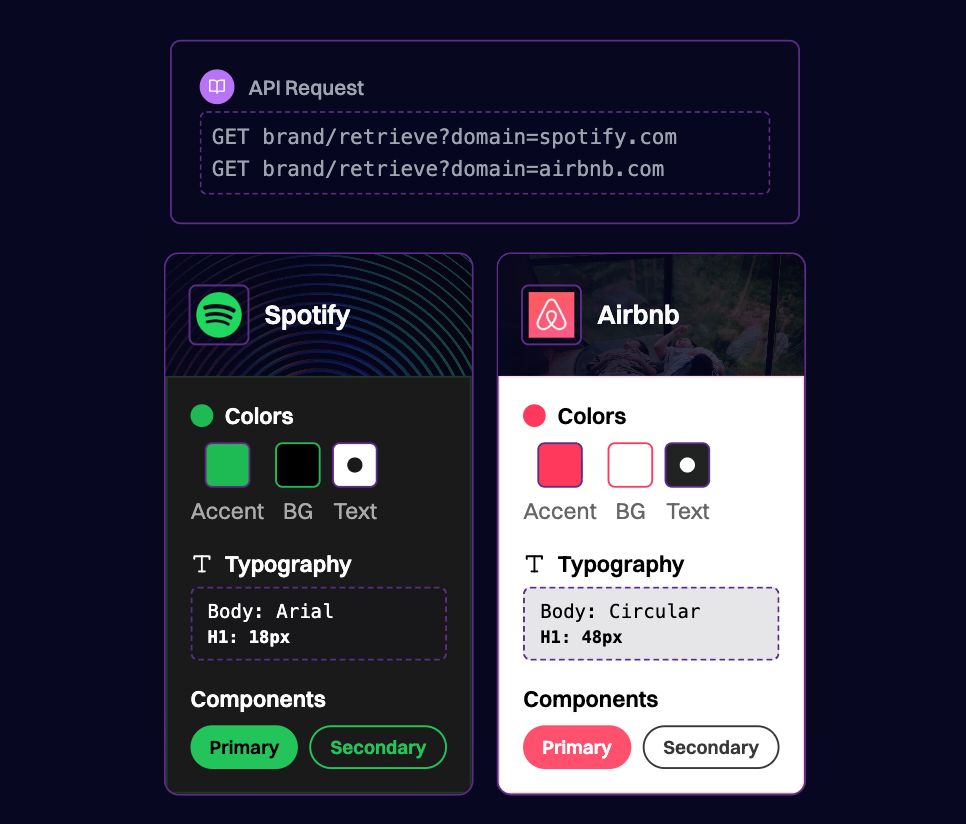
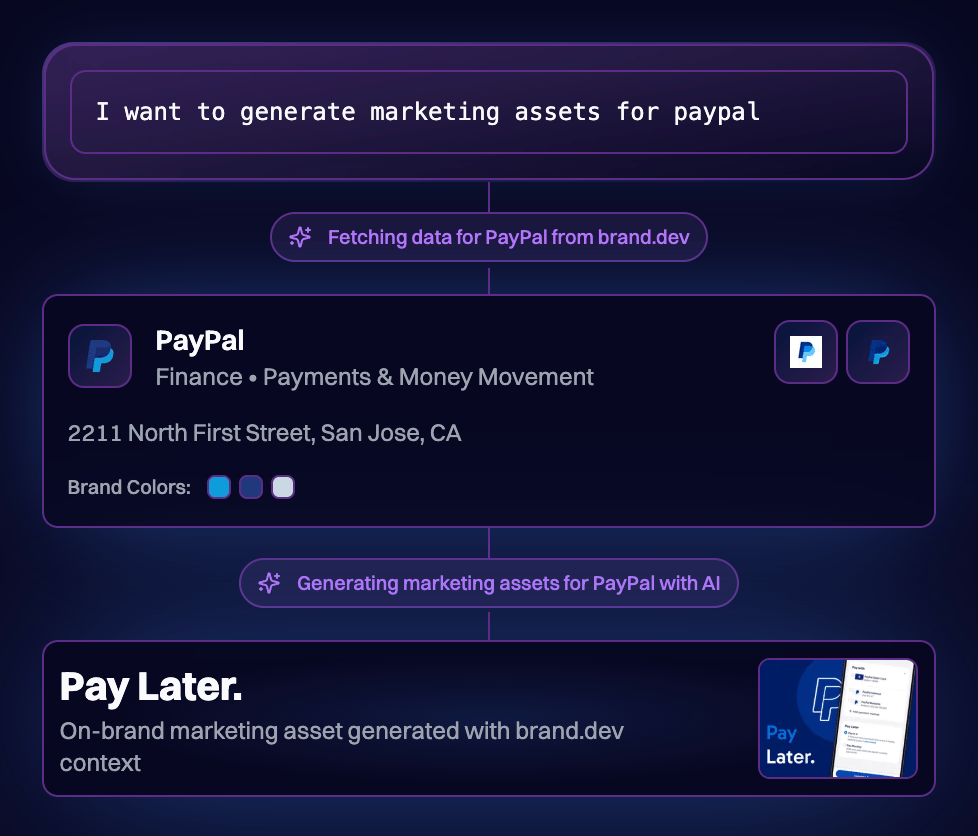
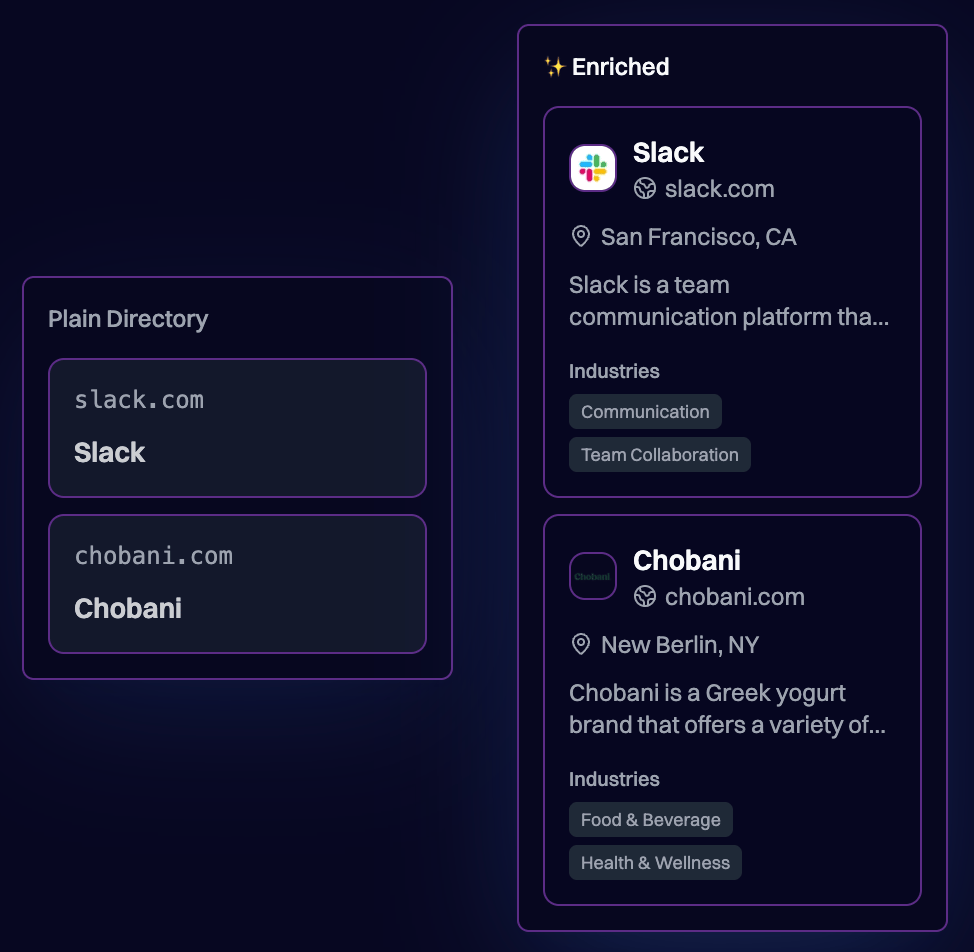
A few presentations generated through the scenario for a fictional Pied Piper client:
### 4. Replace the logo placeholder
Add the **Upload an Image to a Presentation** module. Select the presentation created in the previous step; the module finds the `{{client_logo}}` placeholder text left in place by step 3 and swaps it for the image. For the **Image URL** field, map `brand.logos[1].url` from the Context.dev module (Make arrays start at `1`, so index `1` is the primary logo).
### 5. Optional final step
A common closer is a notification: a Slack message to the team, a Notion entry, or a record in your project management tool linking to the new presentation.
### 6. Test and activate
Run the scenario a few times against test inputs. Once the output looks right, activate the scenario.
### Result
A few presentations generated through the scenario for a fictional Pied Piper client:
 ## HTTP module fallback
For endpoints not yet exposed as a native module, use Make's HTTP module:
Add an **HTTP > Make a request** module.
* **URL:** `https://api.context.dev/v1/brand/retrieve`
* **Method:** `GET`
* **Query string:** `domain` → mapped from the trigger
* **Headers:** `Authorization: Bearer YOUR_API_KEY`
Tick **Parse response** so downstream modules can map fields directly (e.g. `brand.title`).
## Transform brand data inside Make
Make's built-in functions handle the common reshapes without a Code module.
### Extract a domain from an email
```
{{trim(get(split(email; "@"); 2))}}
```
Make uses `;` to separate function arguments, and its arrays are 1-indexed: index `1` is the part before the `@`, index `2` is the domain.
### Flatten brand fields for downstream modules
```
Company Name: {{brand.title}}
Logo URL: {{brand.logos[1].url}}
Primary Color: {{brand.colors[1].hex}}
Industry: {{brand.industries.eic[1].industry}}
```
### Fall back when a field is missing
```
{{if(brand.logos[1].url; brand.logos[1].url; "https://placehold.co/400x400?text=No+Logo")}}
```
## Handle errors
Make routes errors through dedicated error-handler branches:
Right-click the Context.dev module and select **Add error handler**.
* `DataError`: invalid request format
* `RuntimeError`: API errors (400, 408, 429, 500, etc.)
* `ConnectionError`: network issues
Retry with exponential backoff, log to a database, notify an admin, or continue with fallback data.
Rate limits apply per API key regardless of which platform calls the API. Use Make's scheduling and rate-limit features to stay within your plan; see [Handle Rate Limits](/optimization/rate-limits) for the current per-plan caps.
## Example workflows
### Enrich new HubSpot contacts
```
Trigger: New Contact in HubSpot
↓
Action: Extract domain from email
↓
Context.dev: Retrieve Brand Data
↓
Router:
→ If brand found: Update HubSpot contact
→ If not found: Add to manual review list
```
### Monitor competitors daily
```
Trigger: Scheduled (daily)
↓
Array: List of competitor domains
↓
For each:
→ Context.dev: Retrieve Brand Data
→ Context.dev: AI Products Extraction
↓
Action: Update Google Sheets
↓
Action: Slack alert on changes
```
### Process transactions in real time
```
Trigger: Webhook (new transaction)
↓
Context.dev: Transaction Enrichment
↓
Router:
→ If brand identified:
- Attach logo and category to the transaction
→ If not identified:
- Flag for manual review
```
## Pricing
Context.dev API calls cost the same whether they go through Make or a direct HTTP call. Make charges per operation (including HTTP module calls). Caching reduces both bills.
## Next steps
Make basics: scenarios, modules, and triggers.
Reference for the HTTP module used above.
Endpoint reference for every Make module and HTTP call.
The same workflows on Zapier.
Stuck wiring up a Make scenario with Context.dev? [Email us](mailto:hello@context.dev) and we'll help you get it working.
## HTTP module fallback
For endpoints not yet exposed as a native module, use Make's HTTP module:
Add an **HTTP > Make a request** module.
* **URL:** `https://api.context.dev/v1/brand/retrieve`
* **Method:** `GET`
* **Query string:** `domain` → mapped from the trigger
* **Headers:** `Authorization: Bearer YOUR_API_KEY`
Tick **Parse response** so downstream modules can map fields directly (e.g. `brand.title`).
## Transform brand data inside Make
Make's built-in functions handle the common reshapes without a Code module.
### Extract a domain from an email
```
{{trim(get(split(email; "@"); 2))}}
```
Make uses `;` to separate function arguments, and its arrays are 1-indexed: index `1` is the part before the `@`, index `2` is the domain.
### Flatten brand fields for downstream modules
```
Company Name: {{brand.title}}
Logo URL: {{brand.logos[1].url}}
Primary Color: {{brand.colors[1].hex}}
Industry: {{brand.industries.eic[1].industry}}
```
### Fall back when a field is missing
```
{{if(brand.logos[1].url; brand.logos[1].url; "https://placehold.co/400x400?text=No+Logo")}}
```
## Handle errors
Make routes errors through dedicated error-handler branches:
Right-click the Context.dev module and select **Add error handler**.
* `DataError`: invalid request format
* `RuntimeError`: API errors (400, 408, 429, 500, etc.)
* `ConnectionError`: network issues
Retry with exponential backoff, log to a database, notify an admin, or continue with fallback data.
Rate limits apply per API key regardless of which platform calls the API. Use Make's scheduling and rate-limit features to stay within your plan; see [Handle Rate Limits](/optimization/rate-limits) for the current per-plan caps.
## Example workflows
### Enrich new HubSpot contacts
```
Trigger: New Contact in HubSpot
↓
Action: Extract domain from email
↓
Context.dev: Retrieve Brand Data
↓
Router:
→ If brand found: Update HubSpot contact
→ If not found: Add to manual review list
```
### Monitor competitors daily
```
Trigger: Scheduled (daily)
↓
Array: List of competitor domains
↓
For each:
→ Context.dev: Retrieve Brand Data
→ Context.dev: AI Products Extraction
↓
Action: Update Google Sheets
↓
Action: Slack alert on changes
```
### Process transactions in real time
```
Trigger: Webhook (new transaction)
↓
Context.dev: Transaction Enrichment
↓
Router:
→ If brand identified:
- Attach logo and category to the transaction
→ If not identified:
- Flag for manual review
```
## Pricing
Context.dev API calls cost the same whether they go through Make or a direct HTTP call. Make charges per operation (including HTTP module calls). Caching reduces both bills.
## Next steps
Make basics: scenarios, modules, and triggers.
Reference for the HTTP module used above.
Endpoint reference for every Make module and HTTP call.
The same workflows on Zapier.
Stuck wiring up a Make scenario with Context.dev? [Email us](mailto:hello@context.dev) and we'll help you get it working.